Did you know you can coordinate your 3D models in Revit and AutoCAD on the cloud?
If you’re using BIM Collaborate Pro for your models, you’re halfway there.
Let’s explore the steps needed to do model coordination.
View Setup and Publishing
First, ensure each Revit Model has 3D views published for each discipline.
Go to Publish Settings and create a Select Set for BIM Collaborate.


Now that you have your views set up, you must publish all models to the BIM Collaborate cloud. Depending on the amount of views you have and the size of your model, processing can take a while.
Create a Coordination Space
Next, you need to have an account or project admin enable the Model Coordination module. The admin must also create a Coordination space.
This space needs to be something meaningful for the team to understand. In my example, I called it Model Coordination.
Navigate to where the models are stored. You can use one of the following locations: the project file’s location or the shared folder created by the Design Collaboration module. Another option is to create a subfolder to copy your models, leaving them separate from the models worked on by the team.
Evaluating and Assigning Issues
Once you have created the Coordination Space, click on the Models Button.
You should see the number of collisions in the far-right column.
If you click on the Clashes Button, you will get an Excel-like report of the modes and the collisions between each.
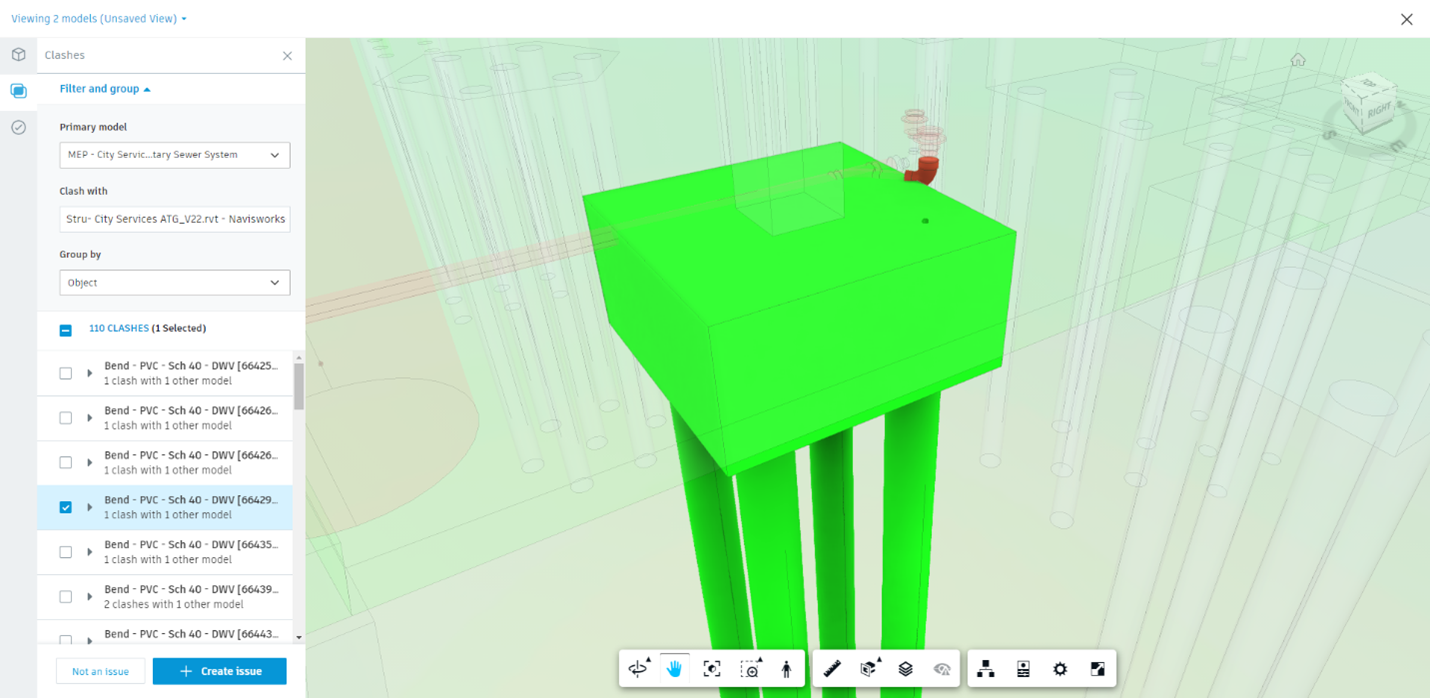
In this case, I will check the Sanitary Sewer against the structural elements. The results show that 68 elements have a hard collision.
If you click any item under the column titled 110 CLASHES, the view will update to the collision.
You can now create an issue and assign it to the person that can resolve the issue. Select multiple items to keep the number of issues low.
Quick tip: Uncheck the item under the clashes list and then click one of the main elements on the screen. This causes all colliding elements to create a group.
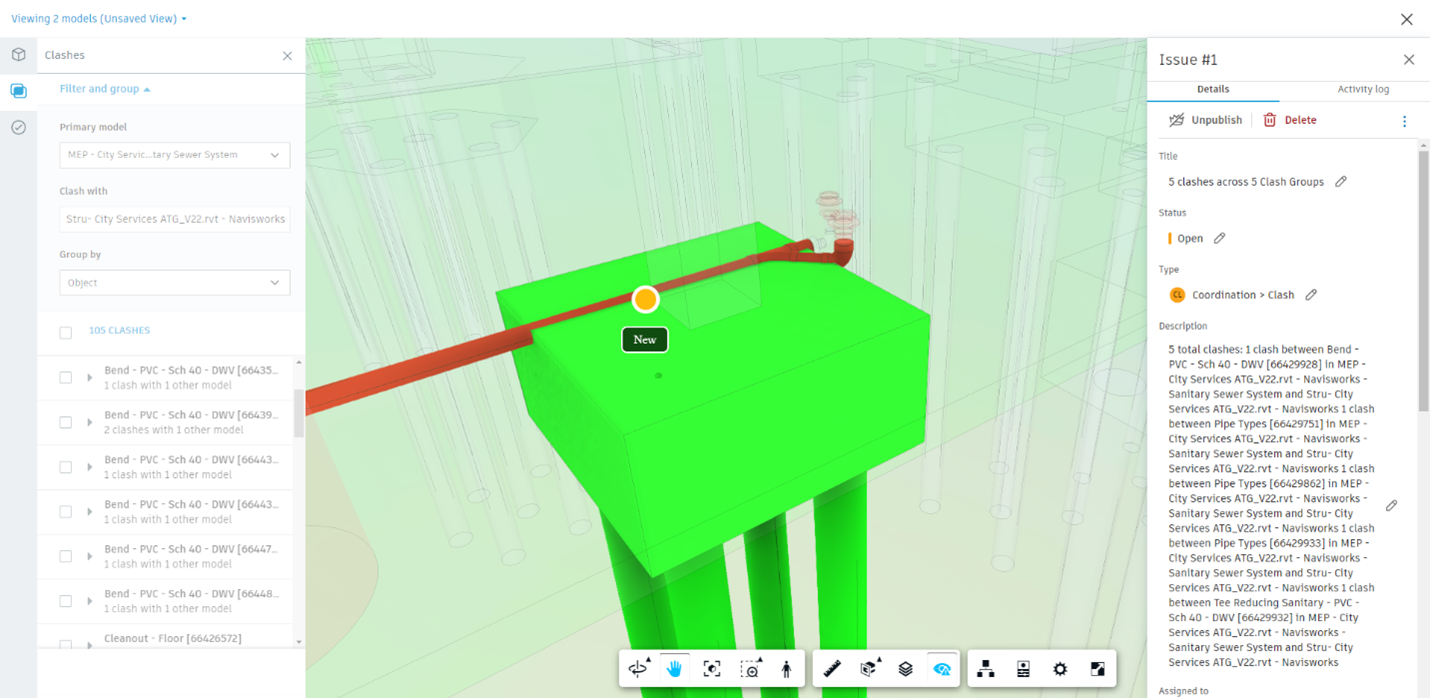
Next, create an Issue for the items that need to be fixed. Assign someone to do the work and let the system inform them of the collision.
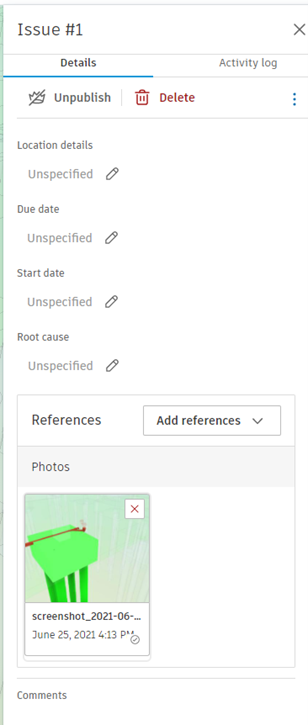
You can see the report gives the Revit Item number in brackets. The issue also includes a screenshot from the moment you placed the pin locator.
Resolving Issues
The end user that needs to fix the issue can go to the Assigned tab in Clashes and pick items that need to be resolved.
From here, the end-user will go back into Revit, fix the issue and publish the model again.
To close out the documentation loop, the end-user must navigate to Clashes > Assigned and change the status to Pending, In Review or Closed.
Model Coordination in BIM Collaborate Pro is easy to do with simple coordination efforts. Even if the user doesn’t have Navisworks on their computer, they can still stay informed throughout the modeling process.

David Geer
Sr. AEC Technical Specialist
Licenses & Certifications
Revit Architecture Certified Professional
About David
David has worked in the AEC industry for over 27 years and has been a designer for various Architecture and Engineering firms in Arkansas. He has an associate degree in Computer Aided Design from Metropolitan Vocational School. His background as a designer includes producing construction documents for commercial, government, healthcare, detention and entertainment centers.
He spent 12 years at ATG as an Application Engineer, teaching and developing firms transition into a BIM environment from a traditional CAD design environment. He spent the last five years as a Virtual Designer and Construction Coordinator for an Arkansas General Contractor and he currently has over 21 Years in the Army Reserves. He enjoys sharing his experience and knowledge with users to help grow the AEC industry become the leaders of the future.
Stay Connected
Get 24/7 access to top-notch technical content with new learning opportunities every week.


